Purdue - KLAB Sticker Printing
Using Affinity Designer
The official guide available here mentions that you must use Adobe Illustrator to prepare the design files, but you can design them with Affinity Designer if you wish.
Before we get started, you need to download this swatch to print in the spot color supported by Roland VersaWorks, which is the software that is used to interface with the sticker printer at KLAB. All other instructions should be identical to Adobe Illustrator.
The following guide uses a sticker design from the misbrands repository created by @mkrl on GitHub.
Step 0: Open Affinity Designer
Did I mention you have to buy a license for Affinity Designer? It's cheaper than selling your soul to Adobe!
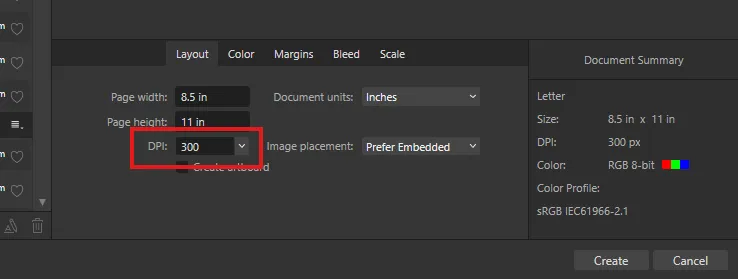
Step 1: Create a new document
Rather than opening your design file, we're going to create a new document to place our design file in. The print size doesn't matter, but make sure the resolution is equal to or greater than 300 dpi:
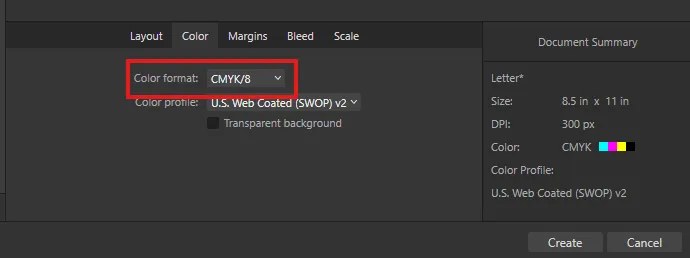
Go into the "Color" tab and make sure you are using the CMYK color space:
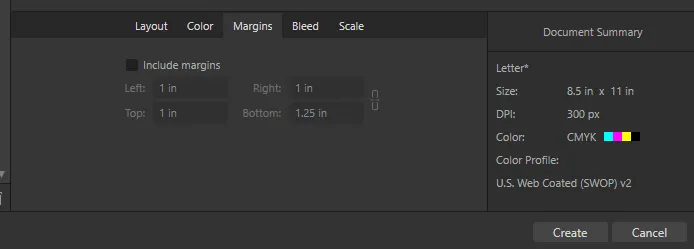
Finally, get rid of margins from the "Margins" tab. We don't need them since we will be making a smaller artboard frame around our final design anyway.
Step 2: Import the design file
Now drag the design file that you want to print into the document area, like this:
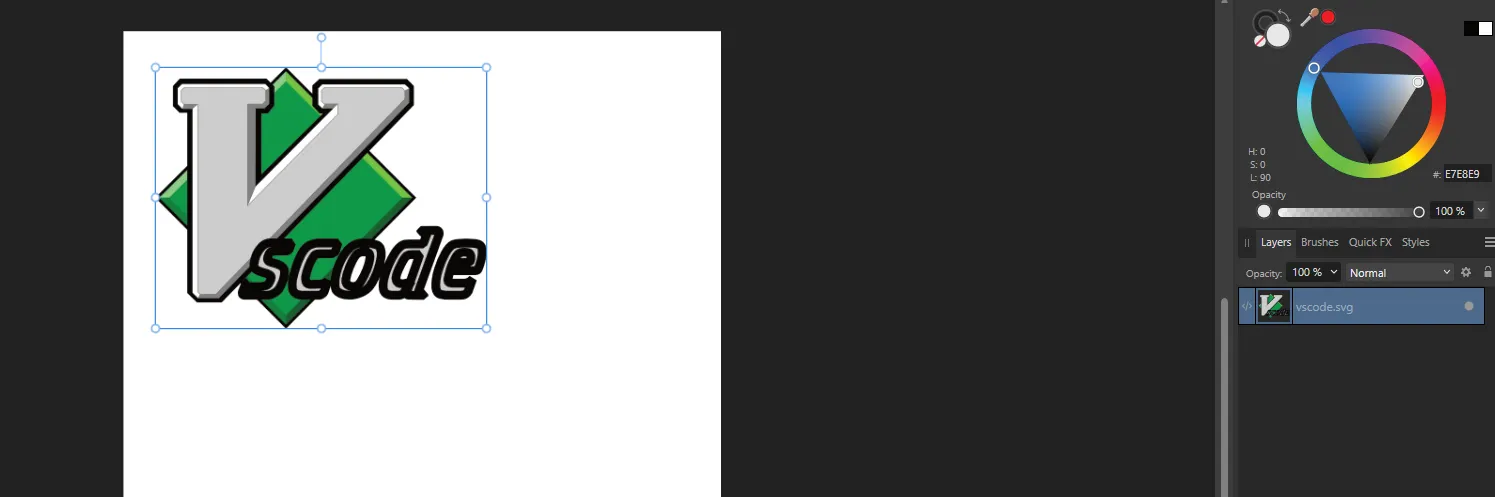
You'll notice that the imported layer looks a bit weird. The layer name is gray, and there is this weird code symbol to the left, like this:
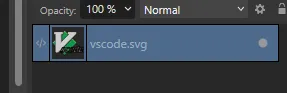
This is because when you import a design in Affinity Designer, the design gets attached to the current document as an "embedded document". We are aiming to modify the shapes and paths of this design, but creating duplicates of this "embedded document" will not create separate copies of this layer. Rather, you will have layers that hold references to the same design. This is problematic for us as changes to one layer will affect the other.
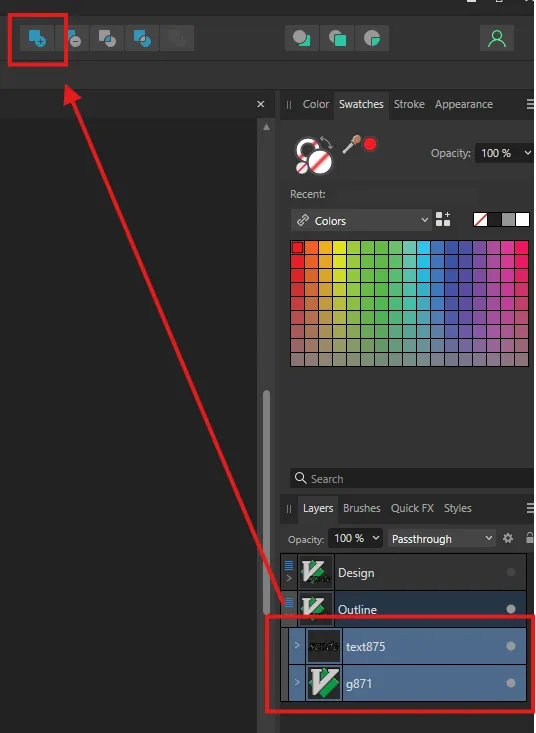
To fix this, open up the "embedded document" layer by clicking on the layer preview icon, then select all of the inner elements like this:
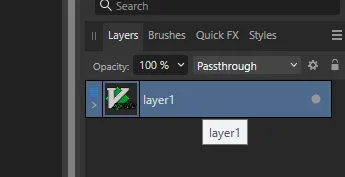
Cut the layers, then return to your original document (check the tab toolbar) and paste it back in to the Layers panel.
You can now delete the embedded document.
Step 3: Create outline shape of design
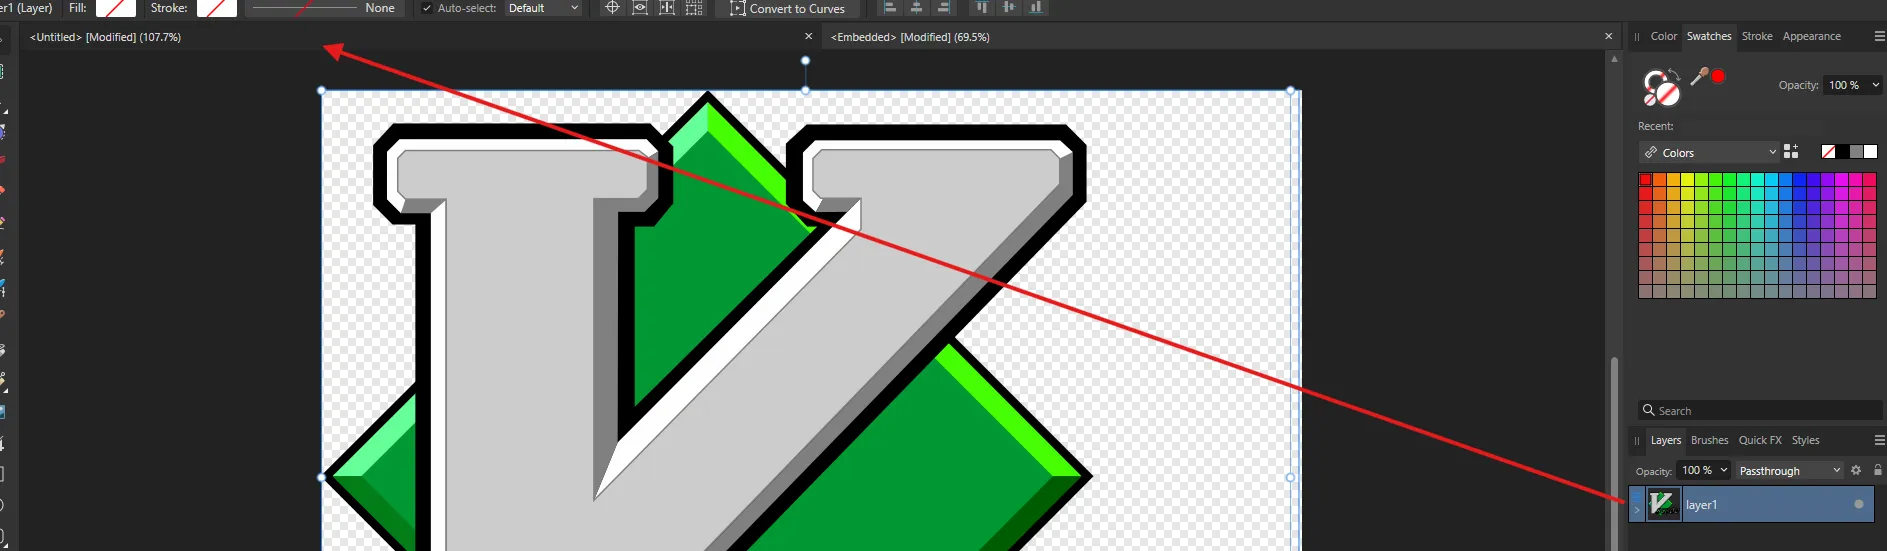
If you have an SVG of the design like we're working with here, duplicate the layer in the right tab and name it something like "Outline", like this:
Rename the top layer to something like "Design", and hide it for now by toggling the visibility indicator on the right. Then expand the "Outline" layer.
We see that the layer has lots of paths making up shapes, but we want one shape to work with when creating the outline. Select all of the paths, then click the add button above to create one path out of all the paths:
You'll notice that the design color has changed, but this is okay because we will only be using this layer to create the outline.
Next, go to the stroke tab, select the "Align Stroke to Outside" option next to the "Align:" option text, and start to drag out the "Width" slider. You'll see a black border growing around your design, like this:
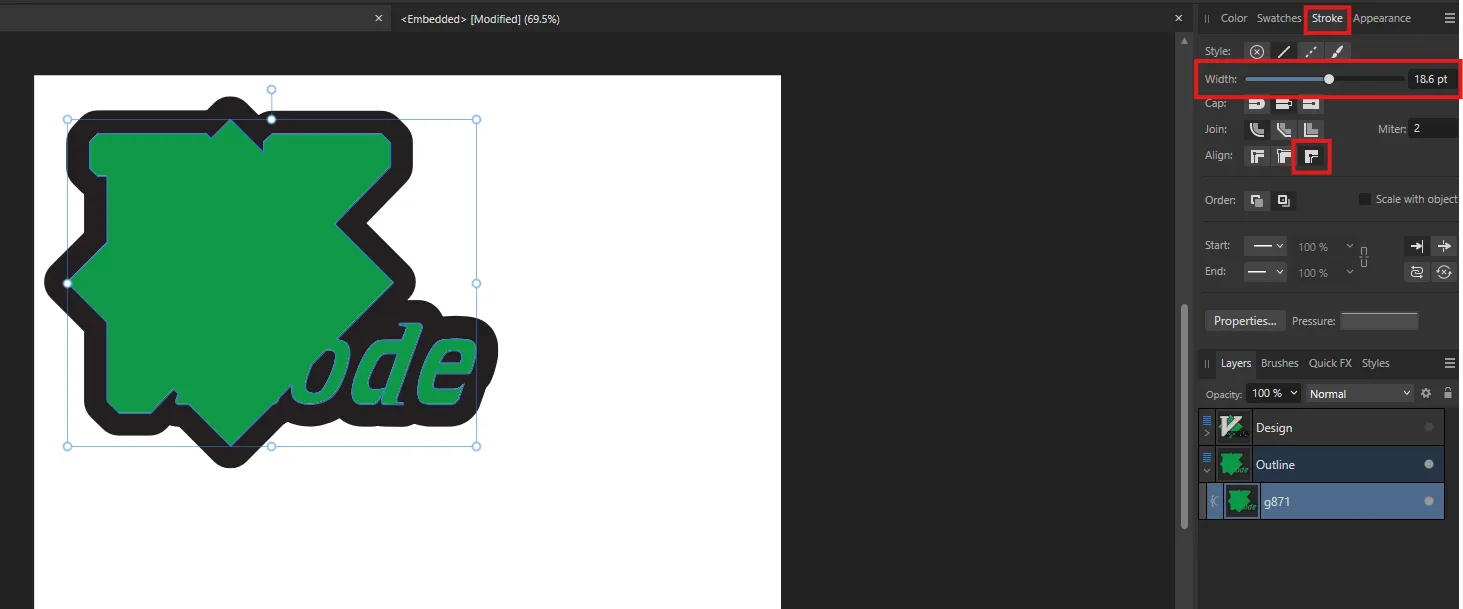
We need to make this stroke into an actual shape so that we can assign the cut path, such that the plotter software at the Knowledge Lab knows to cut around the design. To do this, select "Layer > Expand Stroke".
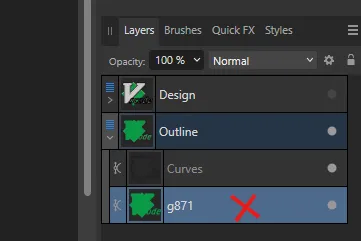
You should now see the stroke has been converted to a shape. You can now delete the intermediary combined shape as we no longer need it.
Step 4: Divide the outline shape
Click on the outline shape in the Layers panel. If you switch to the Node tool, you'll notice that the shape still has a bunch of internal lines which we do not need:
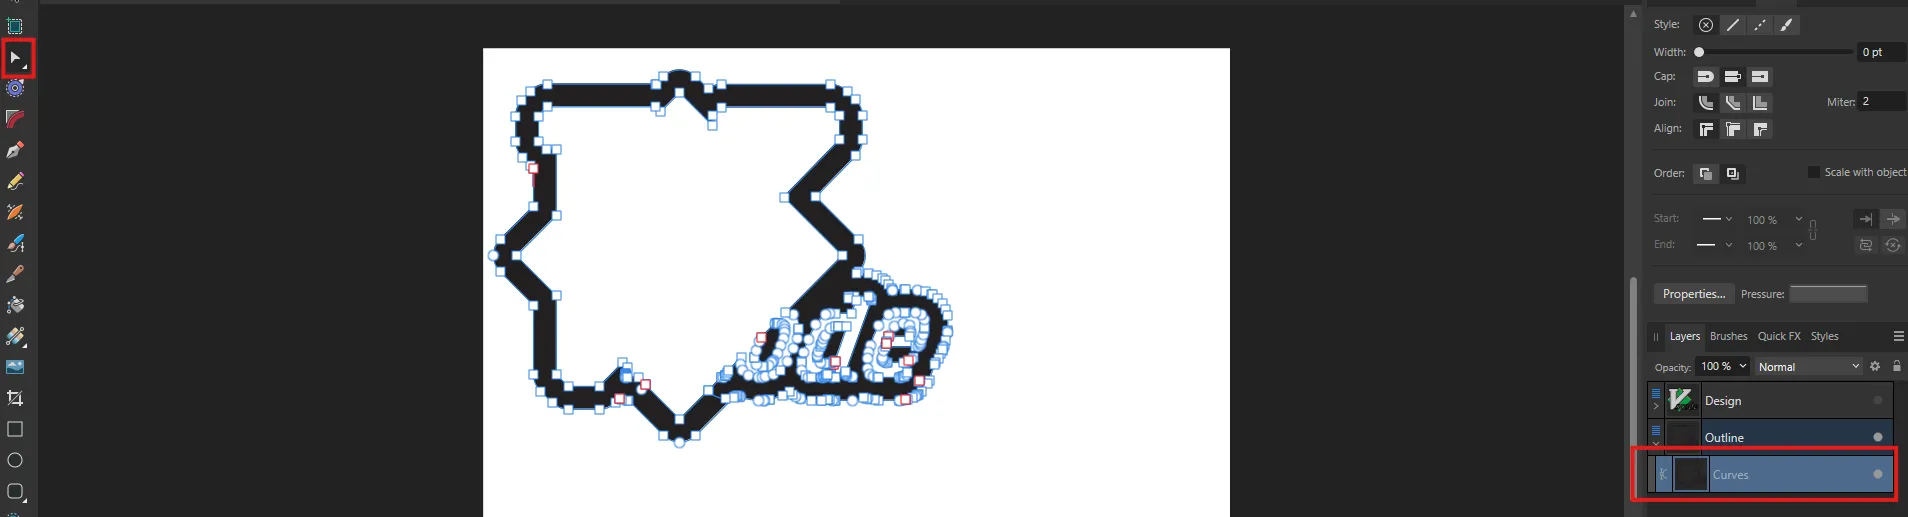
We're going to divide the shape using the Divide option. When you click on the option in the toolbar, you'll notice a lot more shapes in the Layers panel:
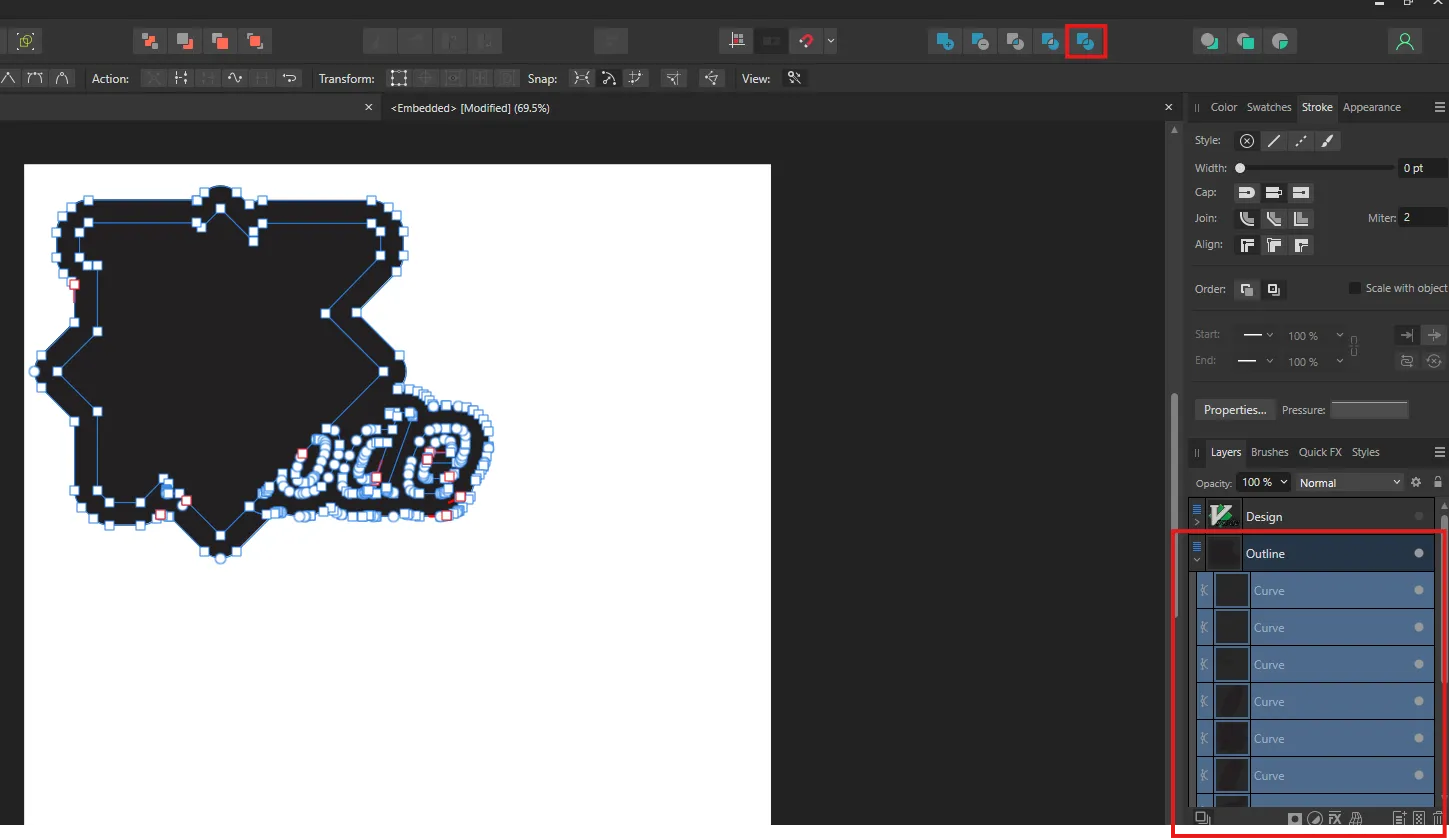
From those shapes, delete all the shapes except for the one outer one. When you are done, you should end up with something like this:
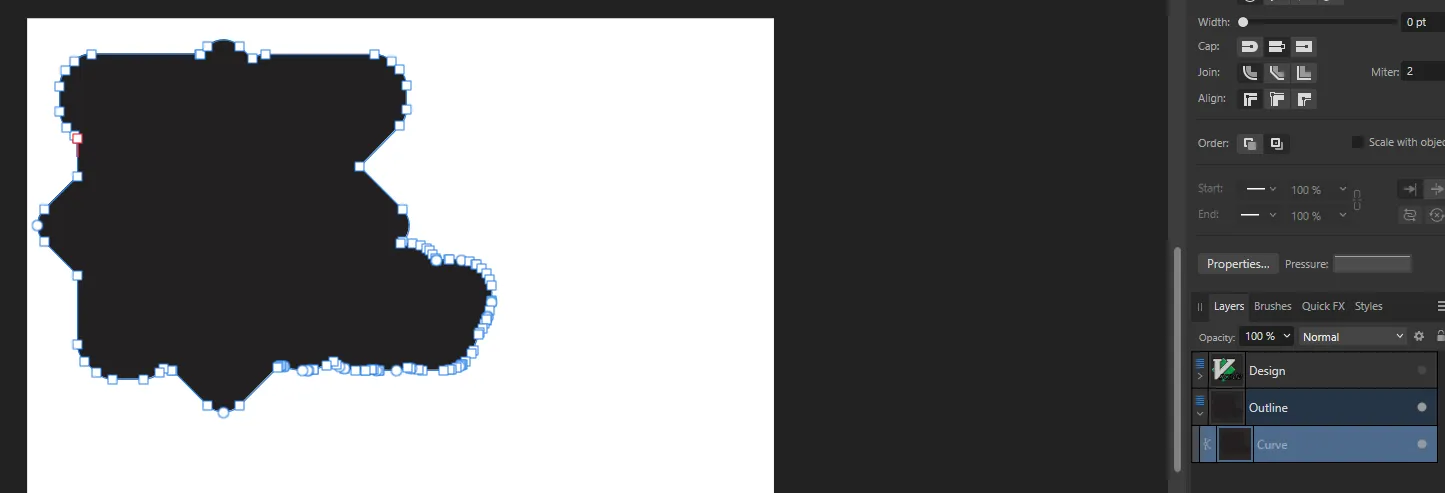
As an optional step, you can simplify the shape here and reduce the number of points that the path has. As you can see from the screenshot above, we have a lot of points, particularly around the "code" text part of the "VSCode" branding. We can reduce this by switching to the Node tool and using the "Smooth curve" option in the toolbar. This is an optional step, and you can leave it as is if you want to preserve all of the points on the shape.
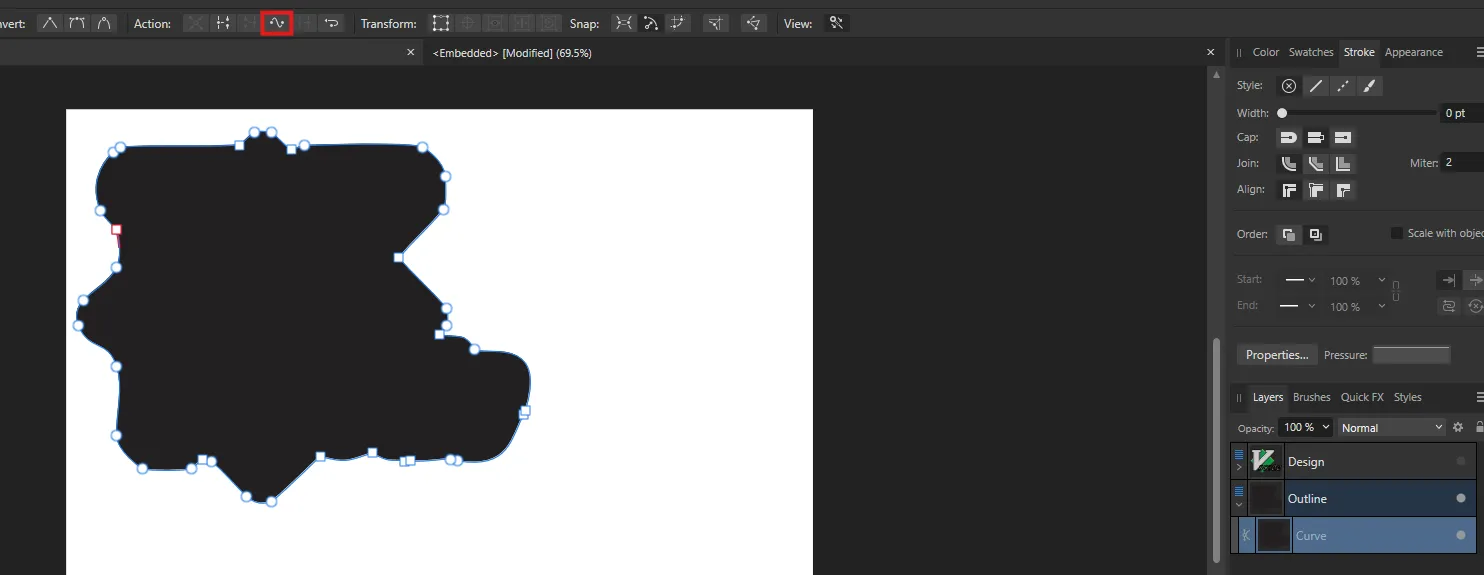
You can also manually delete some points if you feel like the tool is no longer pruning any points.
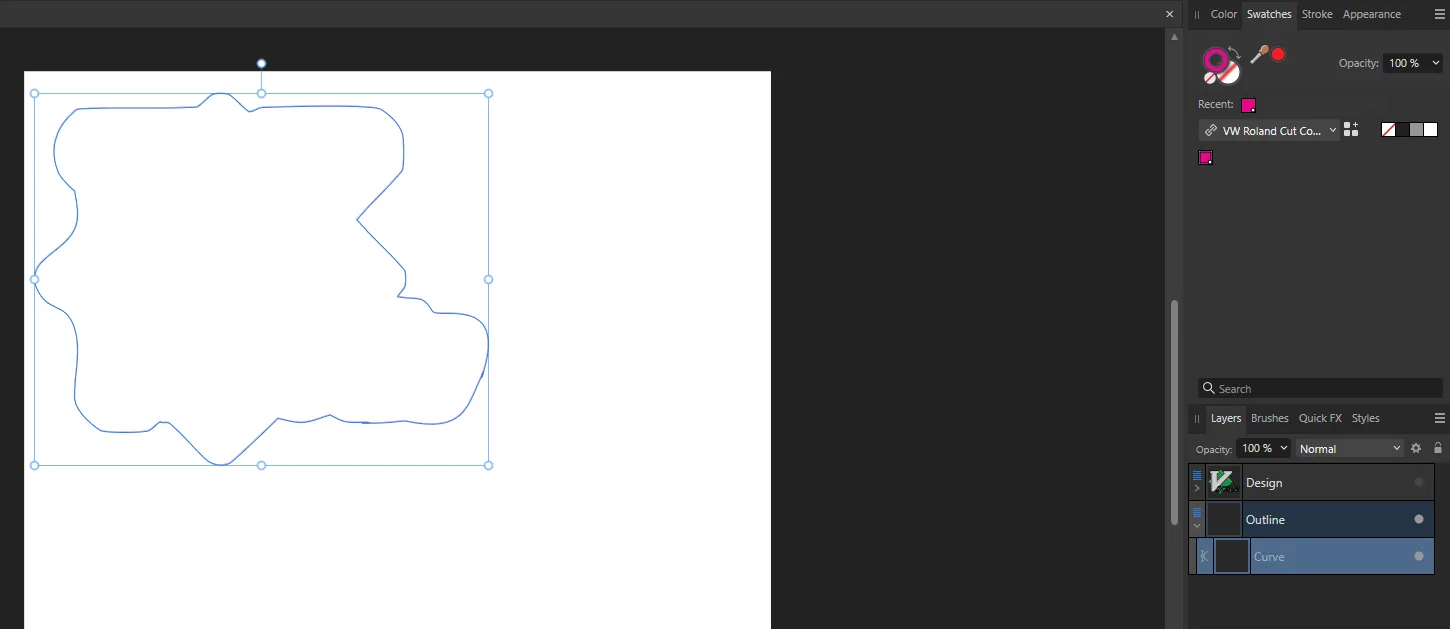
Step 5: Assigning the cut color
Once you are done with creating your outline, go inside the "Swatches" tab and set the stroke color to the VW Roland Cut Contour color you imported earlier. (If you didn't import it, click on the Hamburger menu on the top right and select "Import Palette > As Application Palette" and select the file you downloaded from above.) Also, make sure to clear the fill color. When you finish you should end up with something like this:
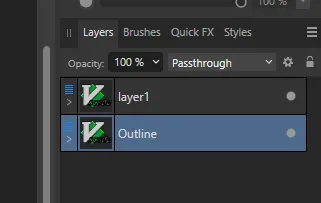
Step 6: Group layers
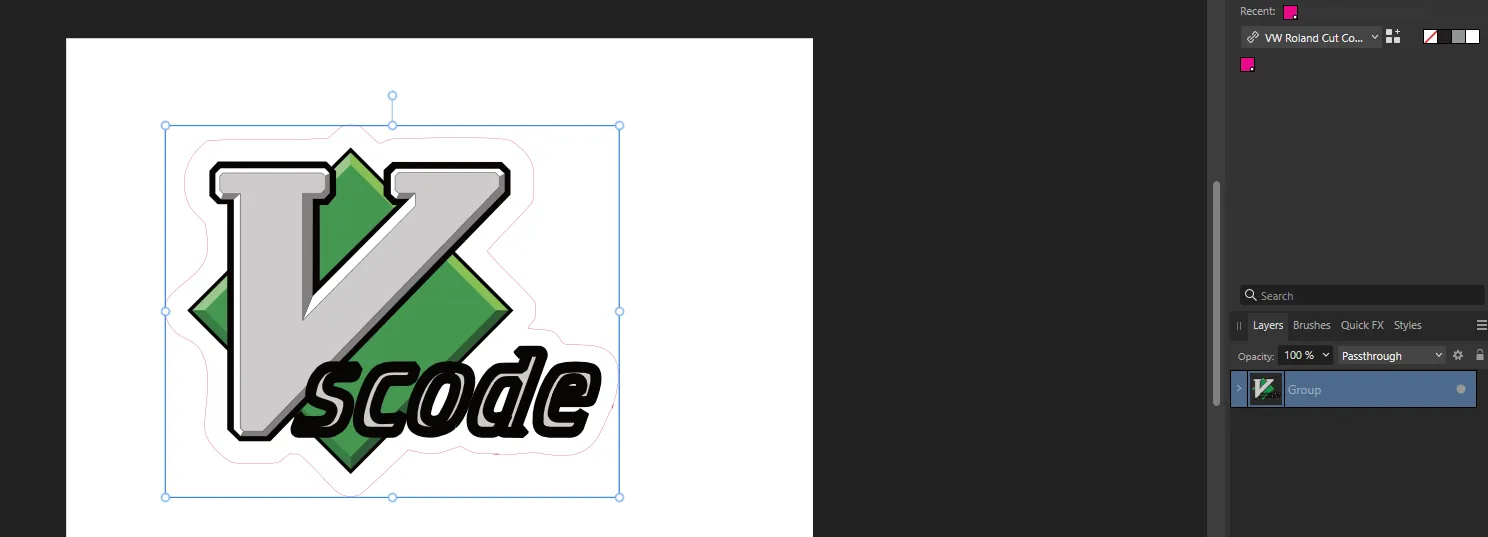
Toggle on the visibility for the design, and you should now see the cut contour around your design! We need to group those two layers so that when you move them around, they do not separate or become misaligned. Select the two layers in the Layer panel, right click, and select "Group". You should end up with something like this:
Step 7: Resize and artboard
We now need to resize your sticker into the final shape and then put it in an artboard so that the rest of the page is not shown during printing. Select the layer, make sure you have the Move tool selected, and at the bottom right in the "Transform" panel, you should see the current dimensions of the sticker to be printed:
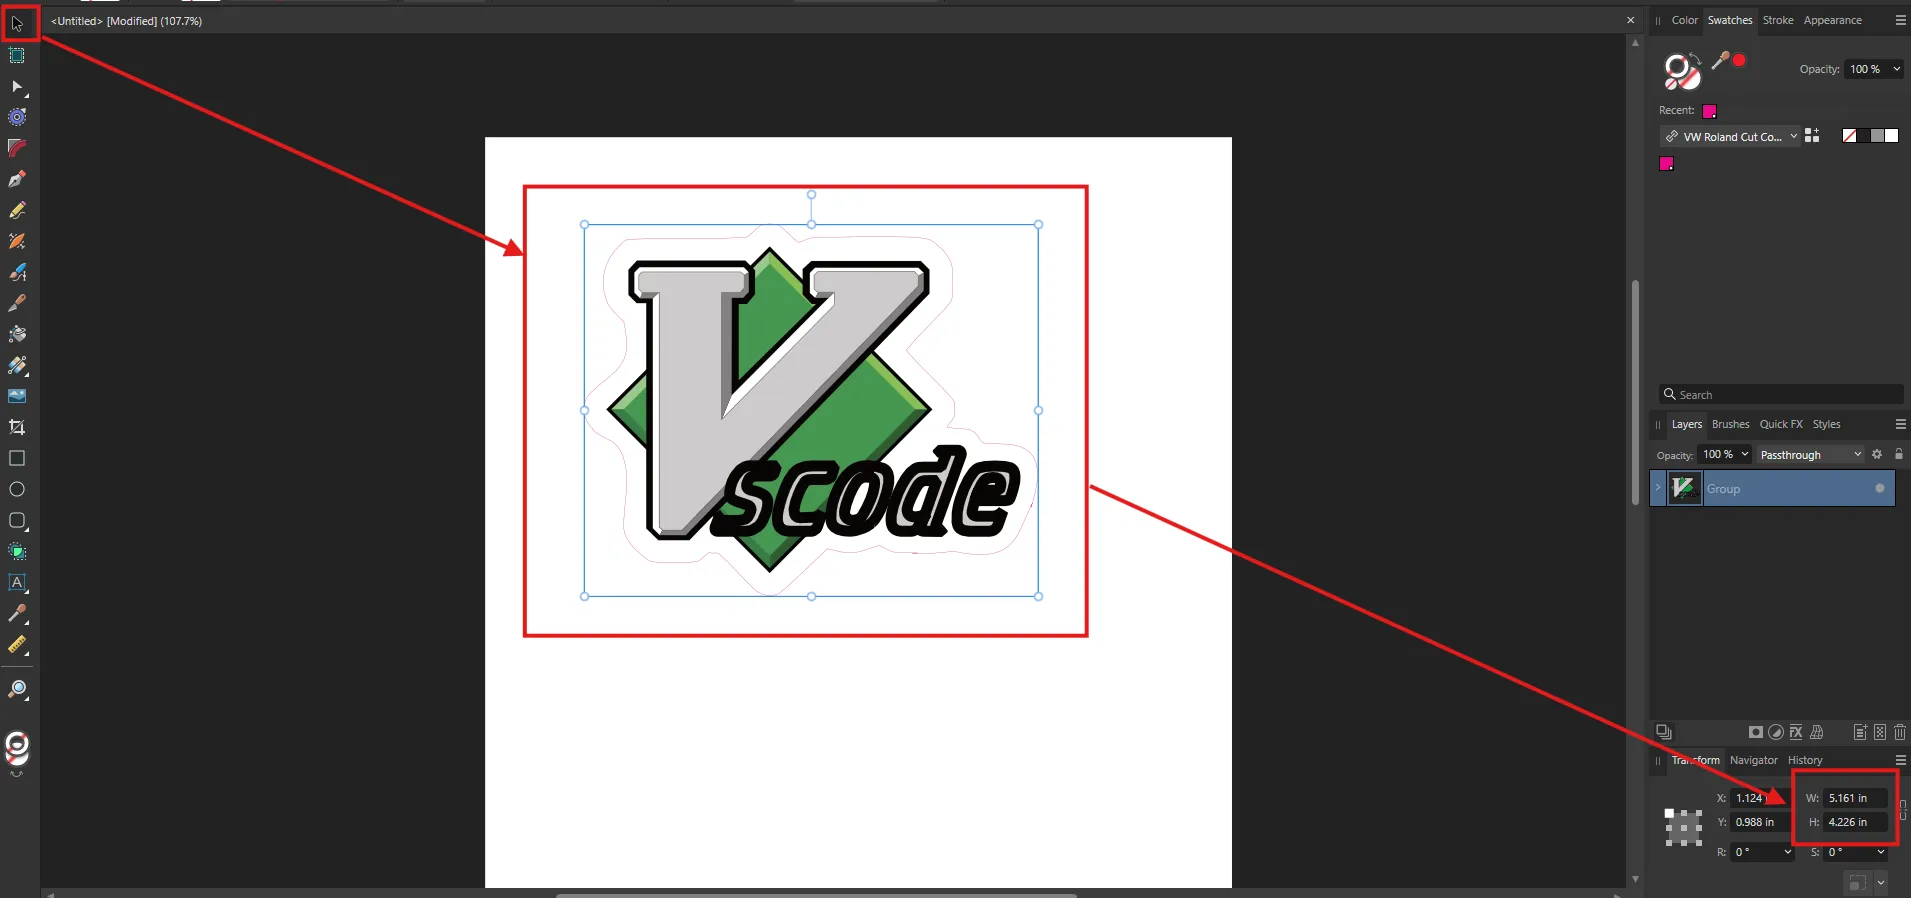
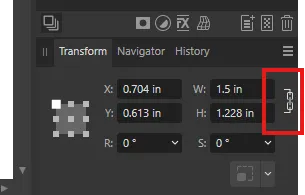
Double-check that the lock aspect ratio option is enabled, and then input the dimensions that you want.
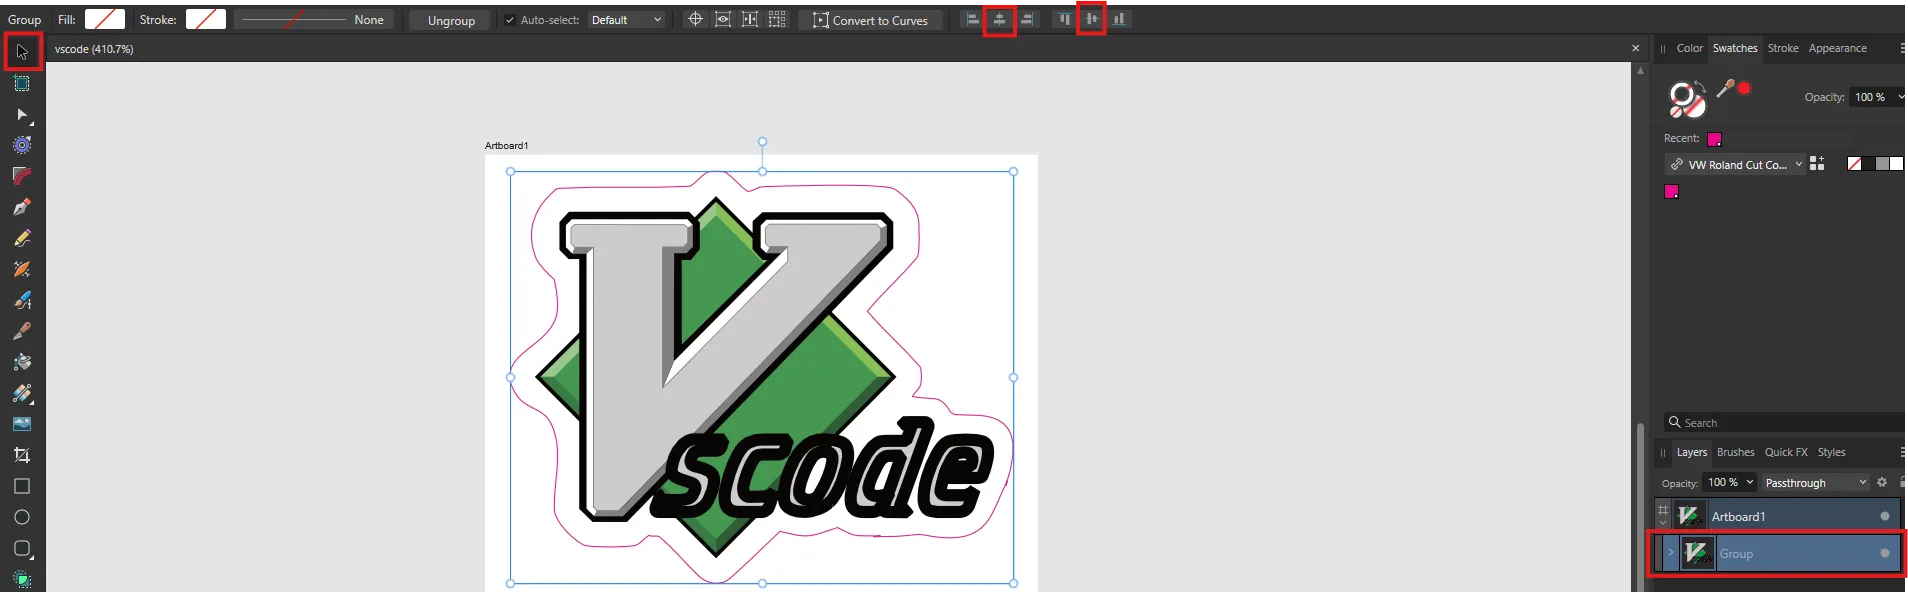
Select the "Artboard" tool, then drag to enclose your design. You should now have a small artboard with just your sticker within it.

Finally, click on the layer within the artboard and select to align in the center and middle.
Once you are done, export your design as a PDF. You are now ready to submit your design to the Knowledge Lab for printing!